There's been so much progress on the trailer lately! I think I say this in every post, but it's finally starting to look like a trailer again. In the past few weeks we've successfully put up all of the aluminum siding (shoutout to Hemet Valley RV) with only one minor incident. Screwing up this step would have been very expensive- the aluminum siding is not cheap. Luckily, the only mistake we made is fixable without having to put up new siding.
The siding seemed really daunting at first. We didn't really know where to begin. Neither of us had worked too much with aluminum which is thin, flexible and easily dented. I started by grilling the guys over at Hemet Valley RV about exactly how we were supposed to install it, but there is only so much you can describe over the phone. Then I turned to MobileTec who has pretty much been my go-to for any trailer related questions throughout this project. After watching a few videos, it started to seem a little less intimidating. In fact, it's pretty straightforward. We started with the bottom piece of the street side, stapled that in and then cut the top piece to size and slipped the bottom piece into the S-Lock of the top piece. We actually did this step backwards (the top piece should be installed first) so we reinforced it with safety wire to the framing. It's secured well with lots of staples around the perimeter and safety wire on the S-Lock so I don't think it's going anywhere.
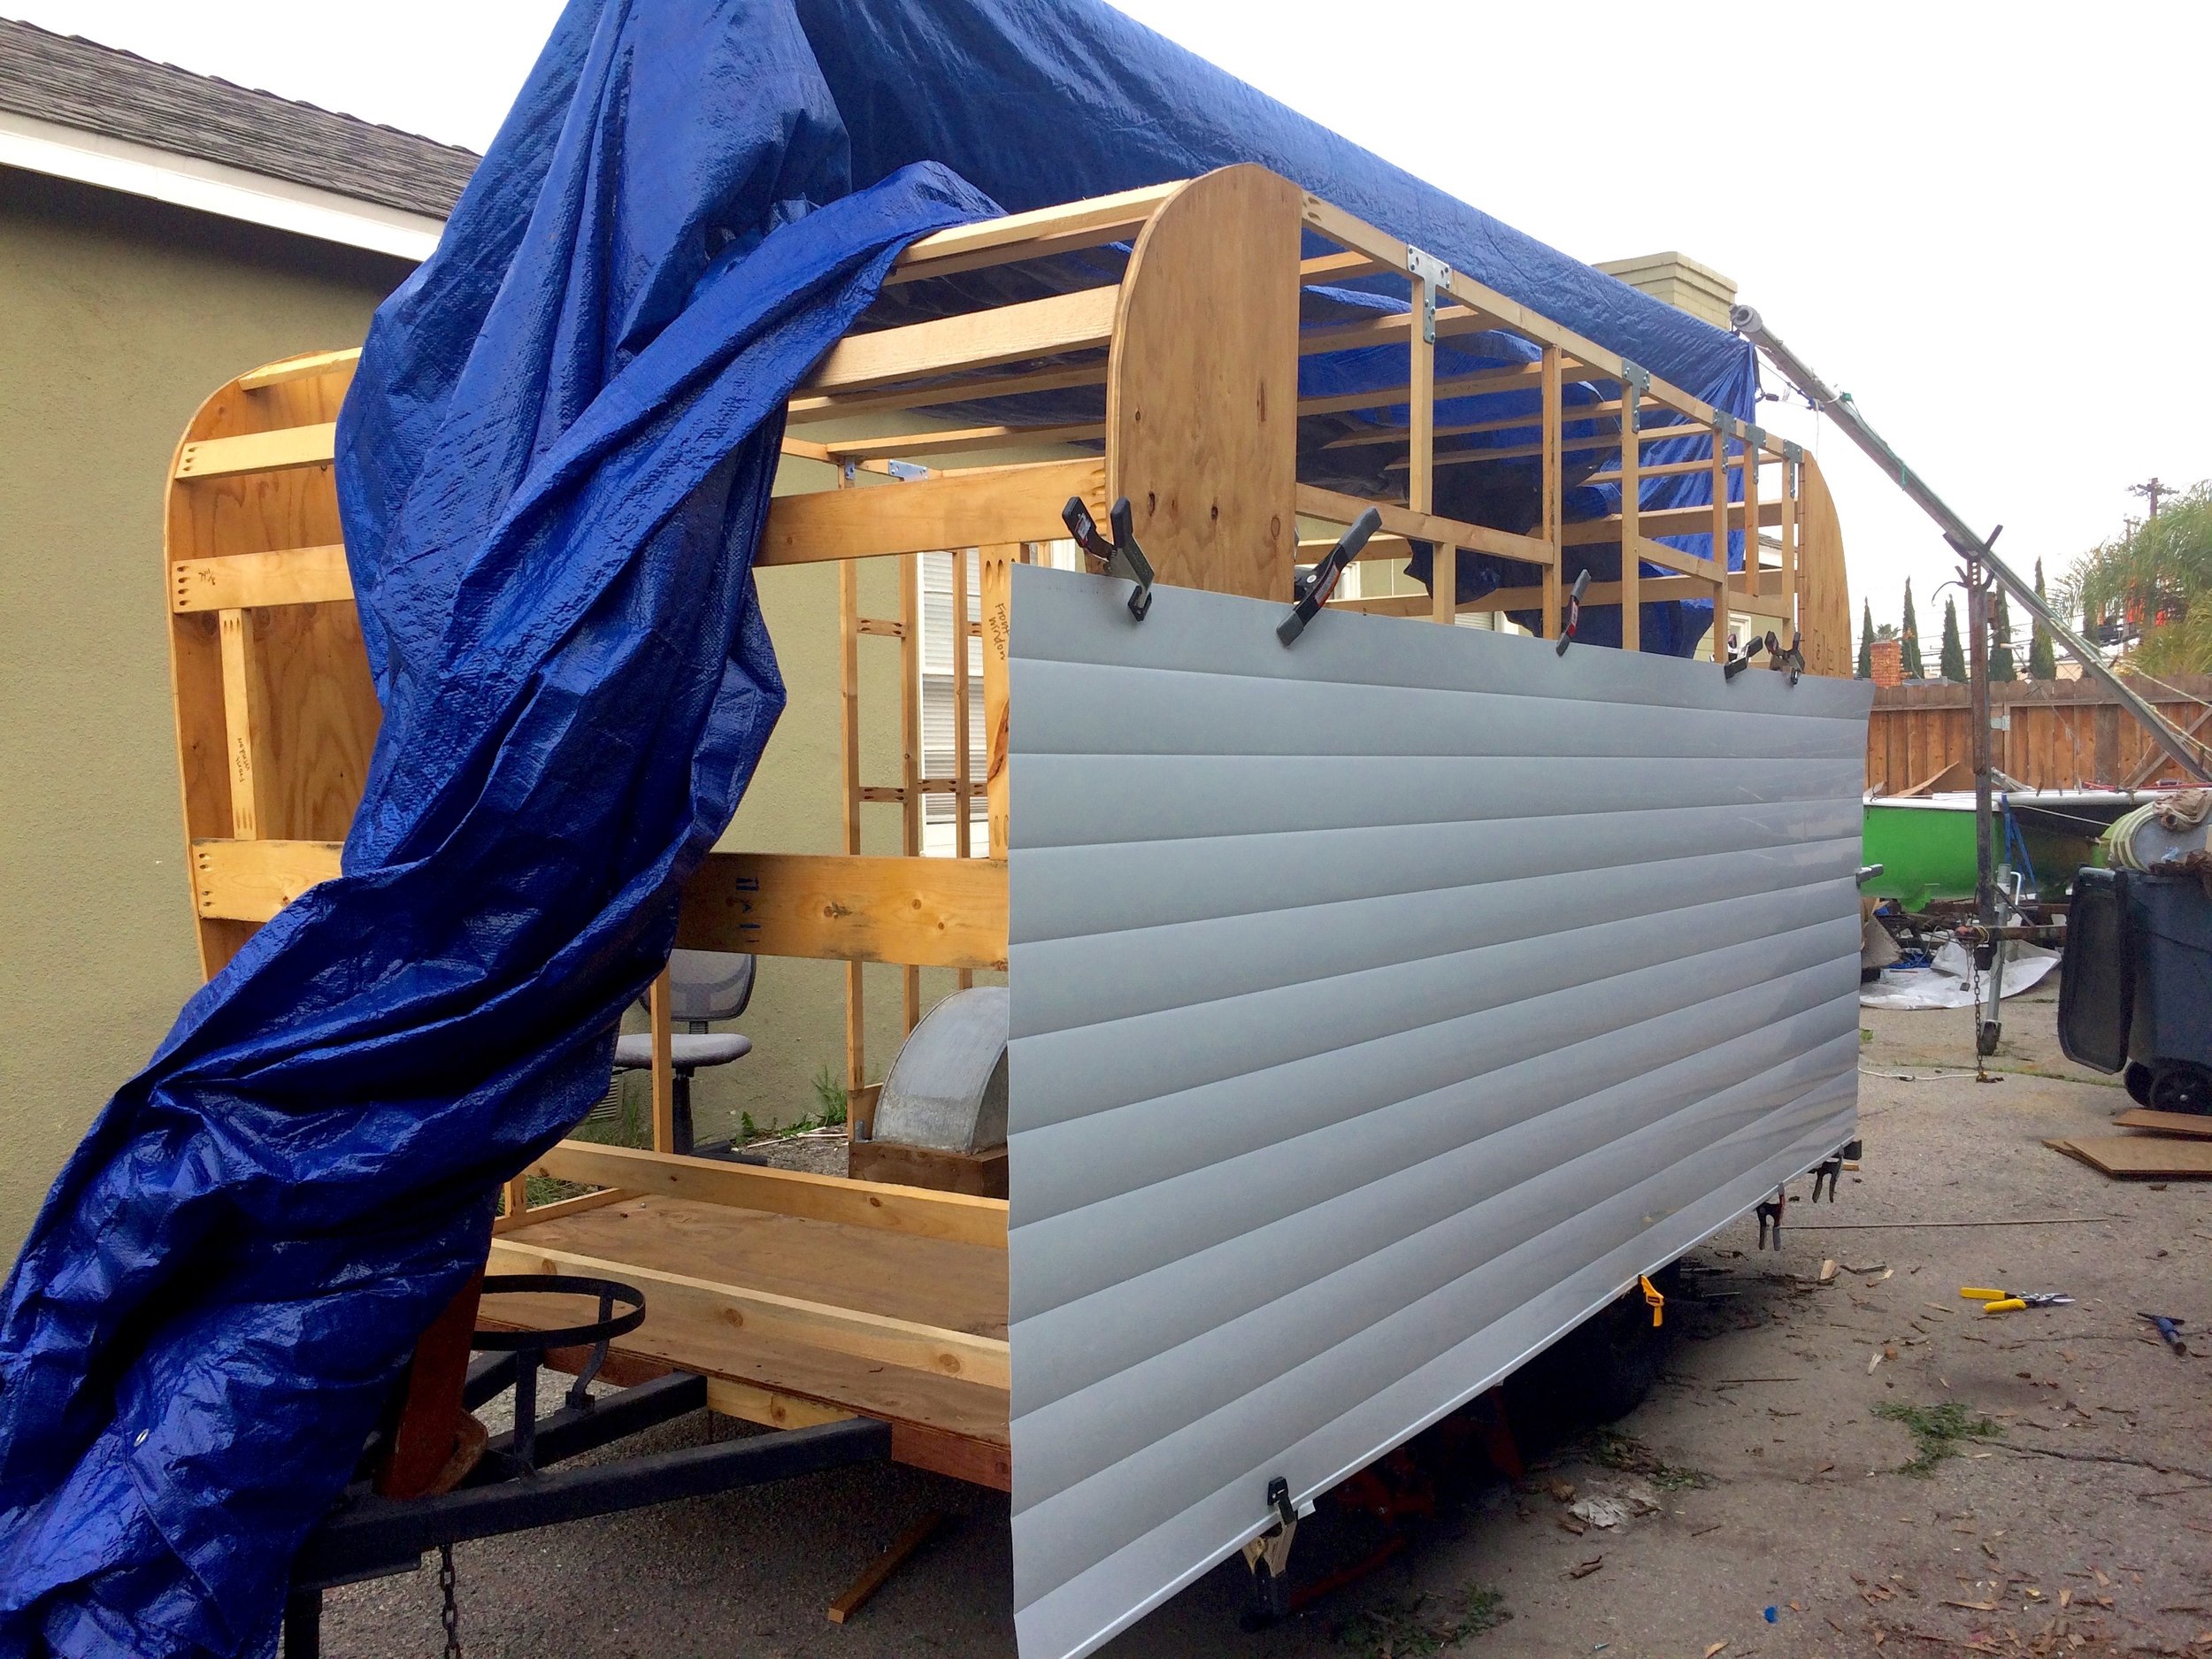
Attaching the bottom piece of siding to the frame. Excuse the giant blue tarp in every picture. It's been raining like crazy here lately!

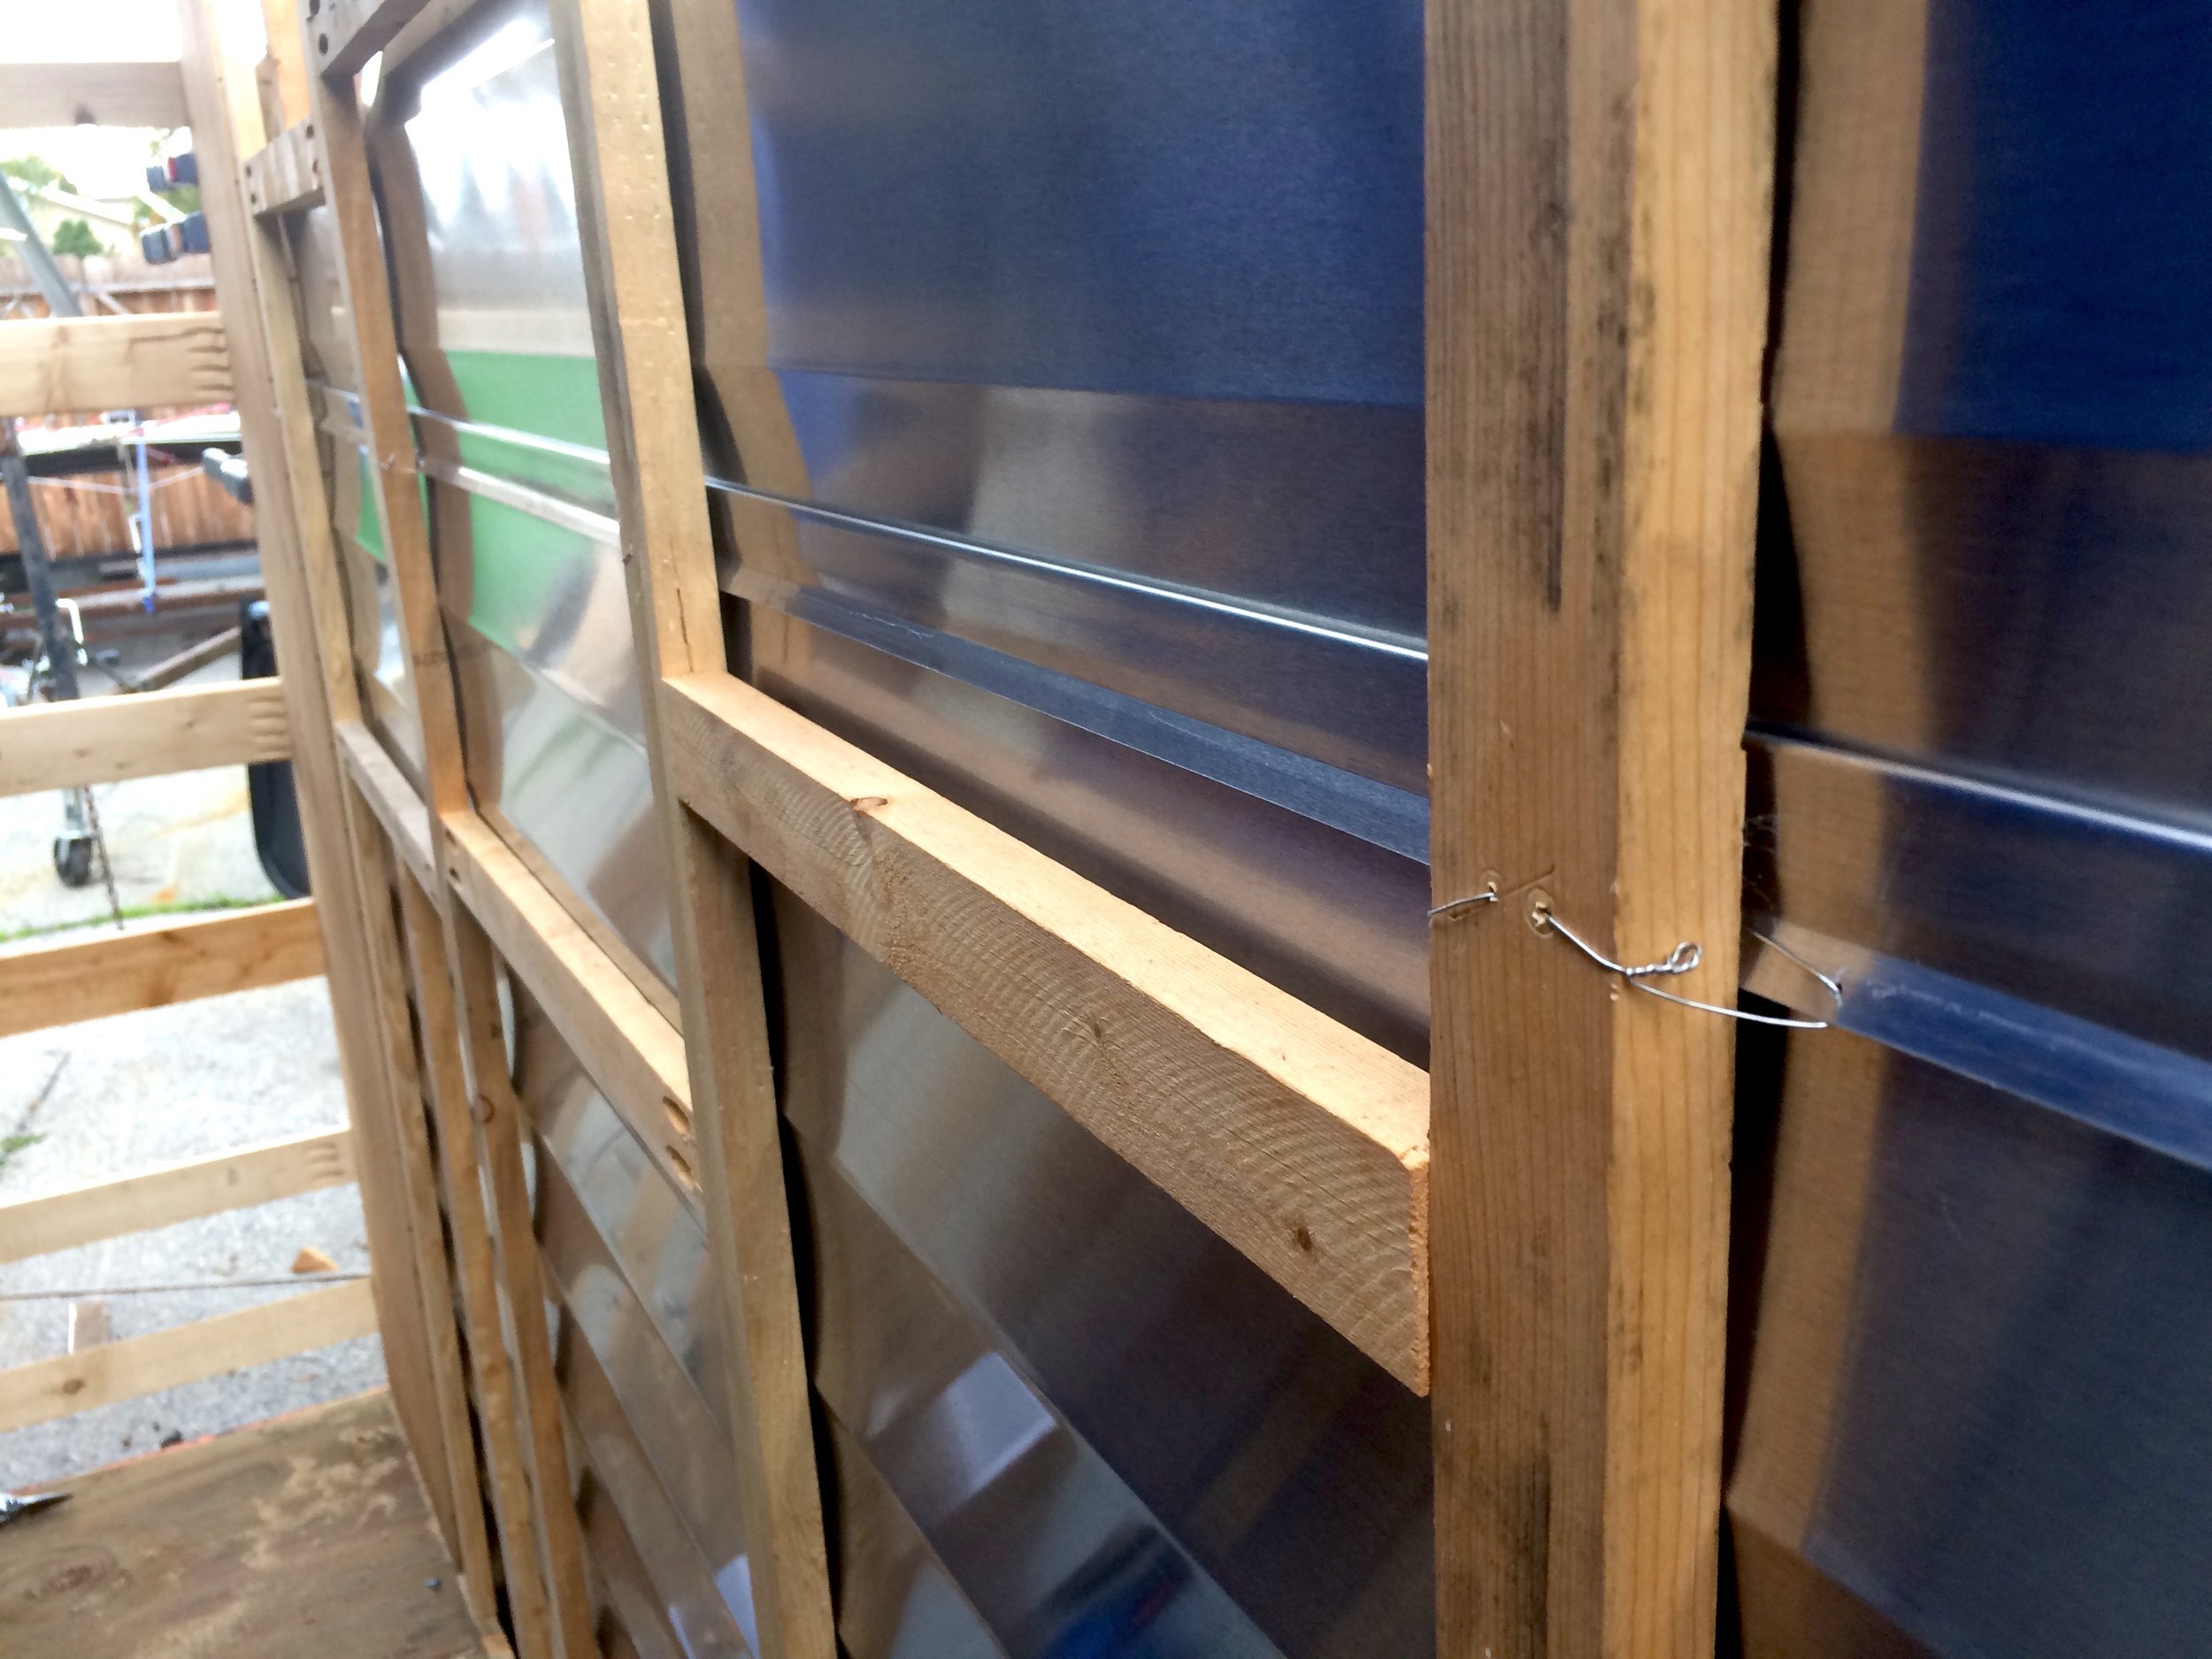
Attached the s lock to the frame with safety wire because we installed the bottom first rather than the top piece first. Whoops!

All of the siding up with holes drilled at the corners of the windows to begin routing
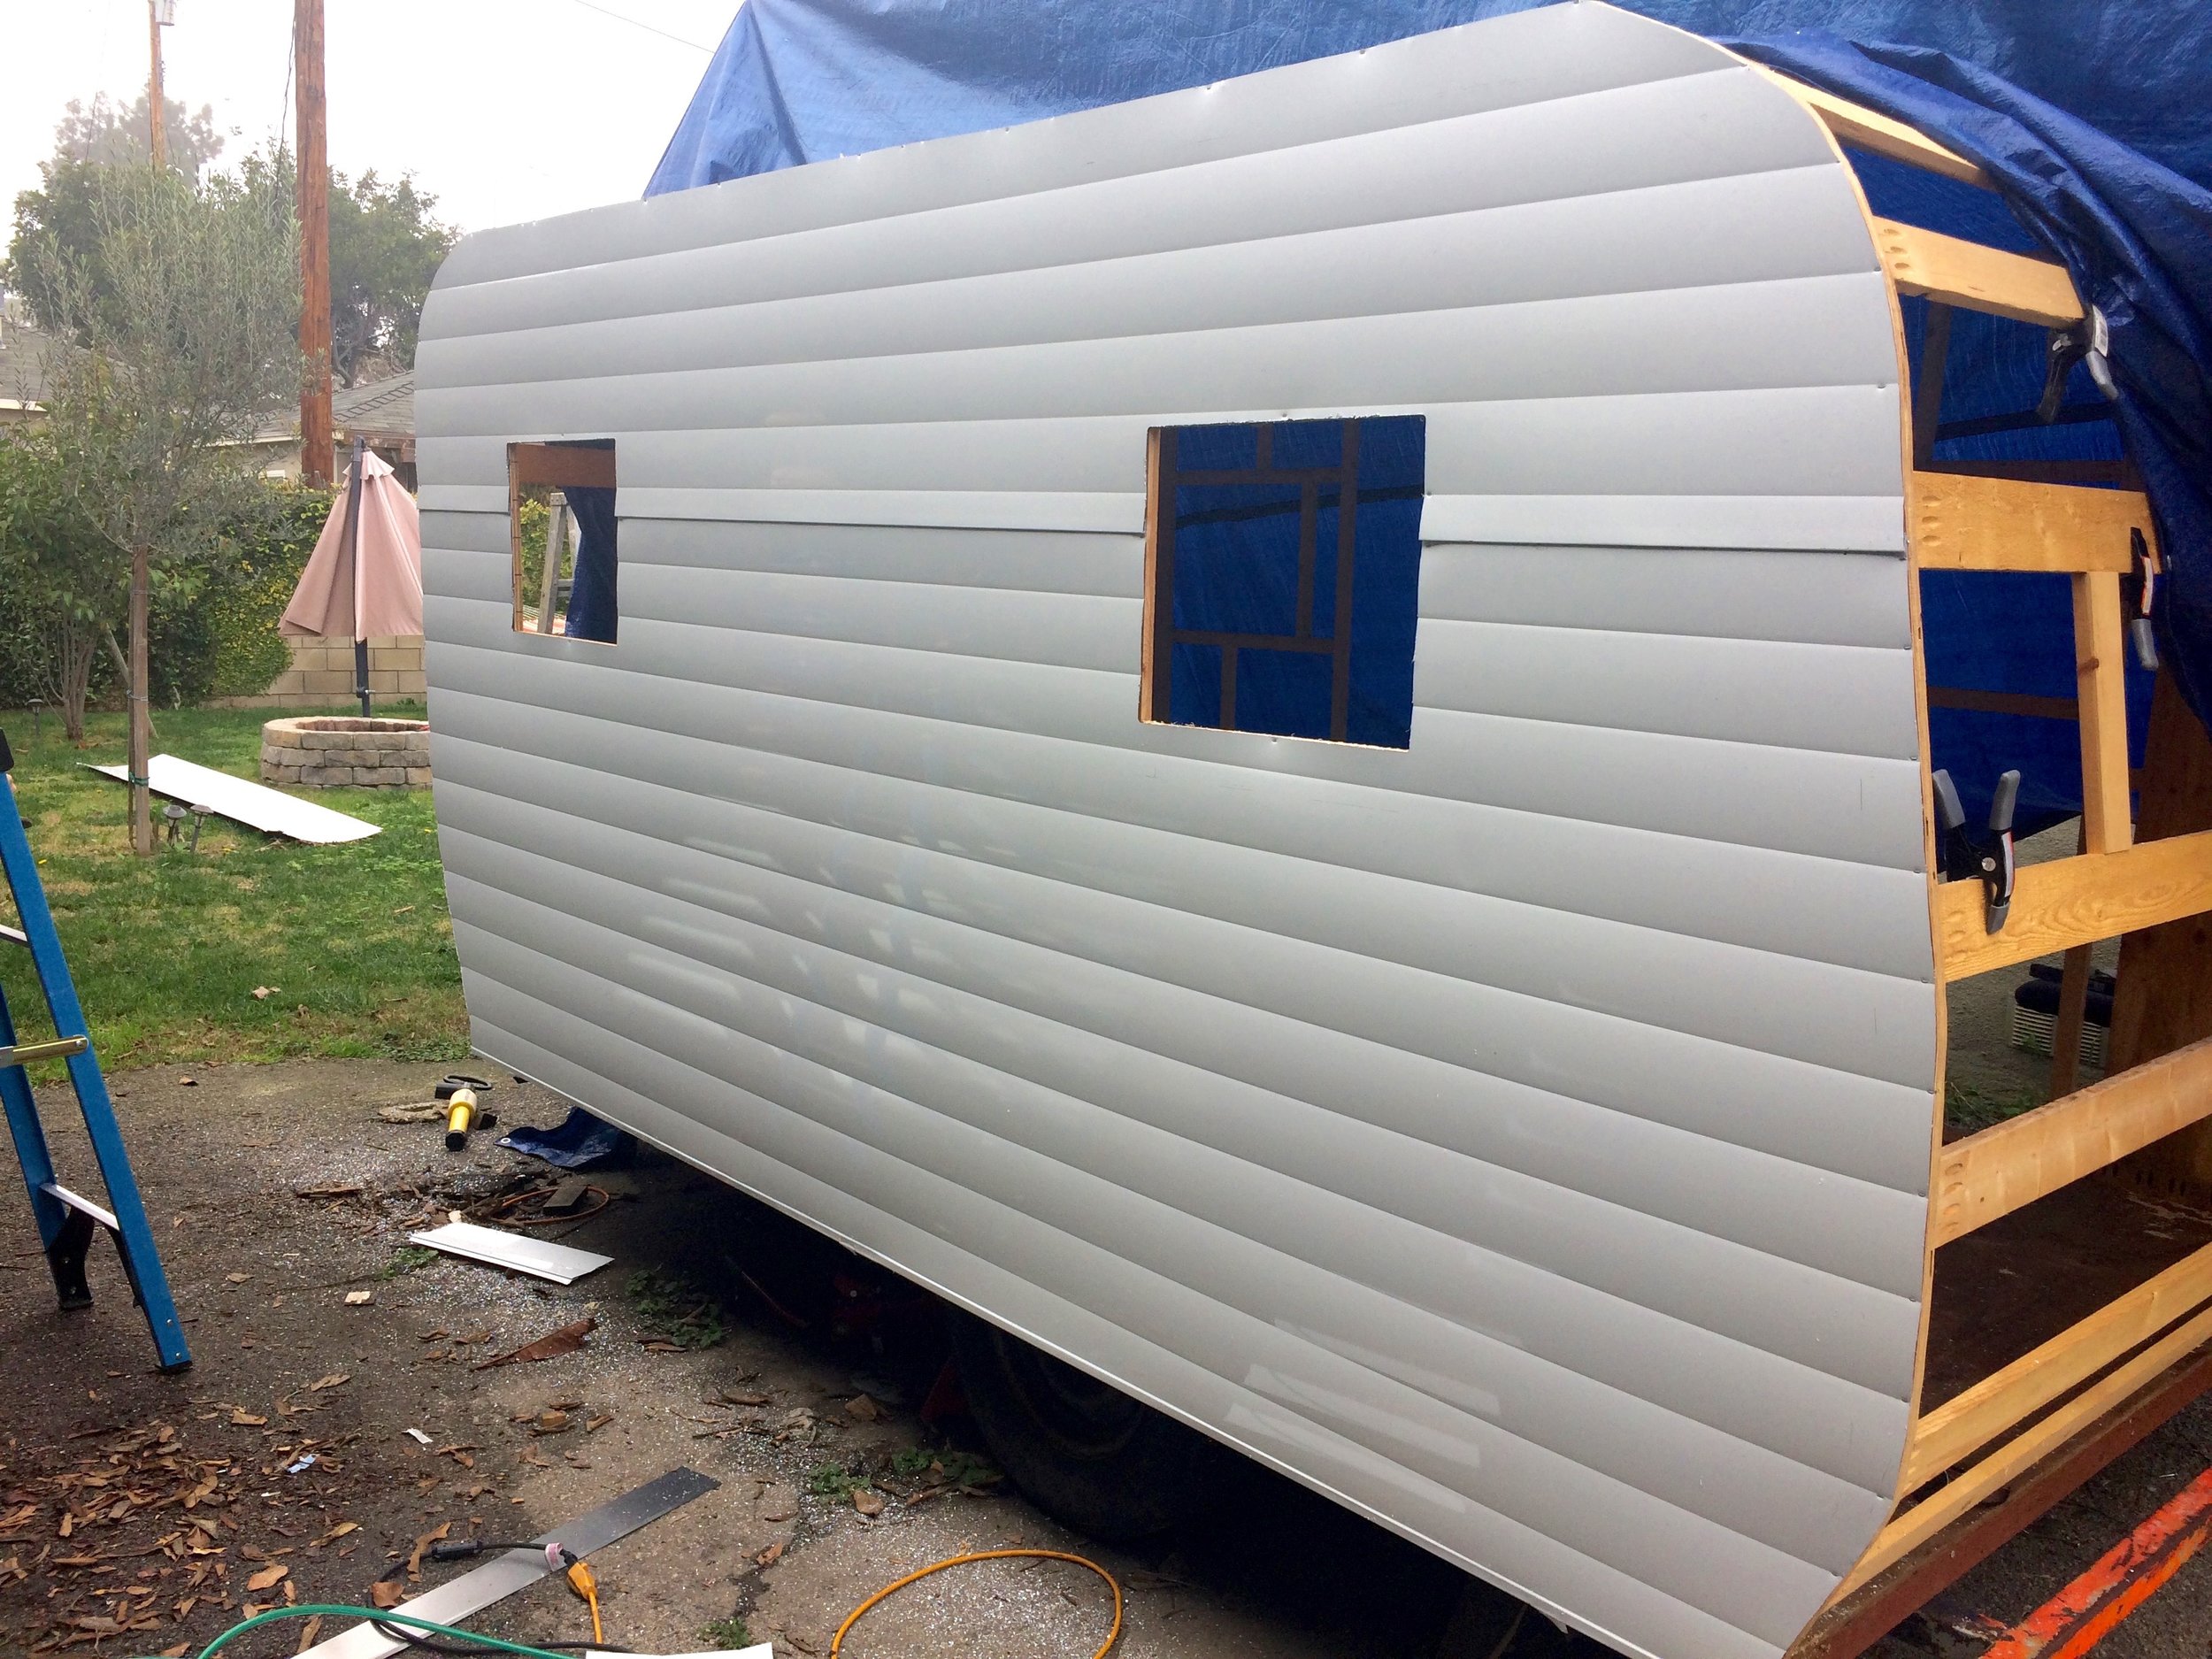

Curb side, all attached and routed.
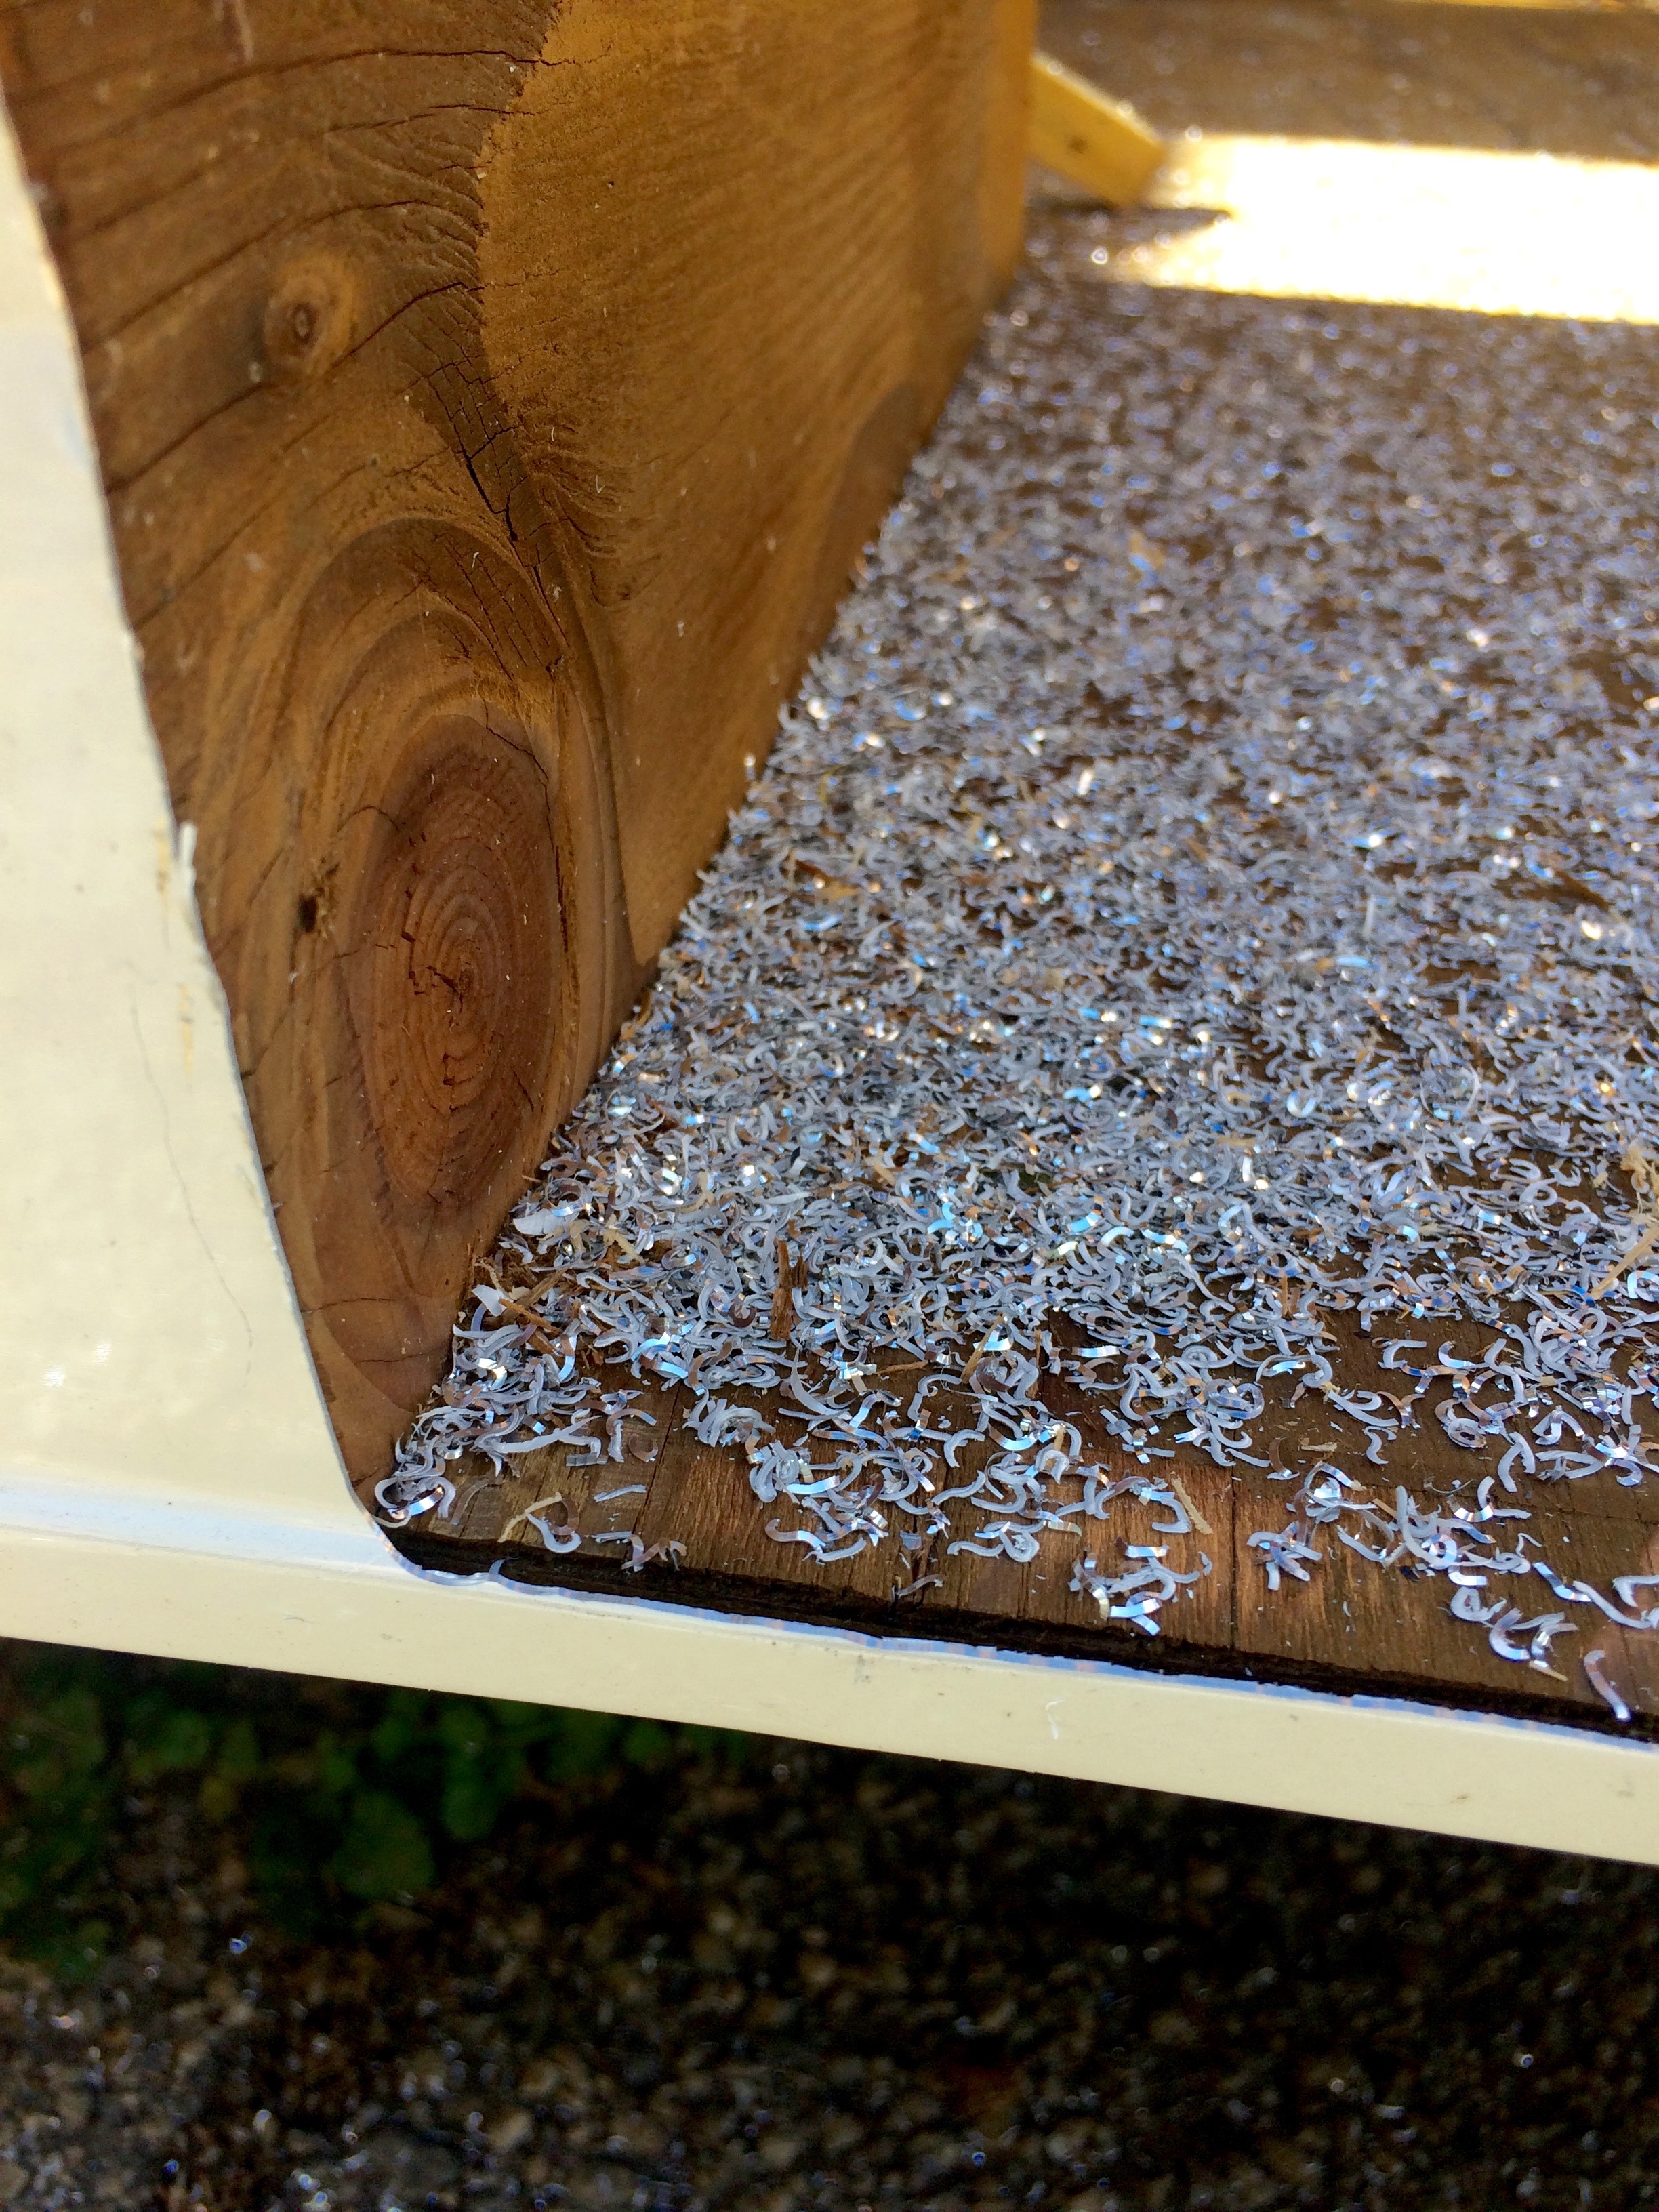
After the siding is stapled in all around the perimeter, the excess metal got routed off. The aluminum on the sides of the trailer is routed to be flush with the frame so that when the roof piece is installed, it can be folded over the side and stapled down. We went through quite a few router bits during this process because the aluminum would melt and gunk up the bit. Other than that, the router worked pretty well for this purpose. I've seen people cut out the window and door holes with tin snips which is what I imagine purgatory is like. That would take FOR-EV-ER. Trust me, use a router for this. My only word of caution is that the little metal shavings that the router spits out are molten hot so wear a face shield, long sleeves and pants. Even with all that protective gear on, those little metal bits still find a way to shoot directly up your sleeve or on top of your head. Ugh. But look how pretty those horrible little shavings are! We're considering floating these in resin for the dining table.
On the original trailer, both the sides and the roof were flush with the frame and covered with a L-shaped trim piece. While in theory that should have been water tight, it wasn't. The wood frame along the top of the trailer was completely rotted away from water damage. This time around, we're making sure everything is totally water tight by folding the roof piece over the side before installing butyl tape and J-rail.
We unrolled the roof piece on top of the frame and strapped it down so it would stay put for stapling. This was one of the more infuriating steps in the siding process because our trailer is not perfectly square. The curb side of the frame is half an inch longer than the street side. I know that doesn't sound like much, but just that tiny bit made it impossible for the roof aluminum to lay flat and square. After lots of adjusting and re-adjusting, we just decided to make the back slightly more square with the frame since the booty of the trailer is what people will be looking at more often. I think it only looks crooked if you're looking for it. It's probably one of those things that will bother Chris and I but hopefully no one else will notice (unless you've read this blog, of course...).

Trailer booty with roof siding strapped down before stapling
After the roof piece went on, we cut excess aluminum off leaving only a half inch on either side. Our only choice here was to cut it with tin snips, which is one of the more boring and tedious tasks - not to mention there's razor sharp little bits that totally cut up my hands in the process. If you are restoring a trailer and have kids, I imagine this would be a great punishment for something.
After the roof is trimmed to the correct size, we cut notches out around all of the curves then used a mallet to fold it over before stapling it to the side. The reason it had to be half an inch is because the J-rail, which acts as a kind of mini rain gutter, is about 3/4" deep. We wanted to make sure that the folded over aluminum would be hidden underneath the J-rail.

Trimming the roof piece to have a .5" overhang

Folding the roof piece over the side. Notice the notches cut around the radius - this reduces any buckling of any excess material.
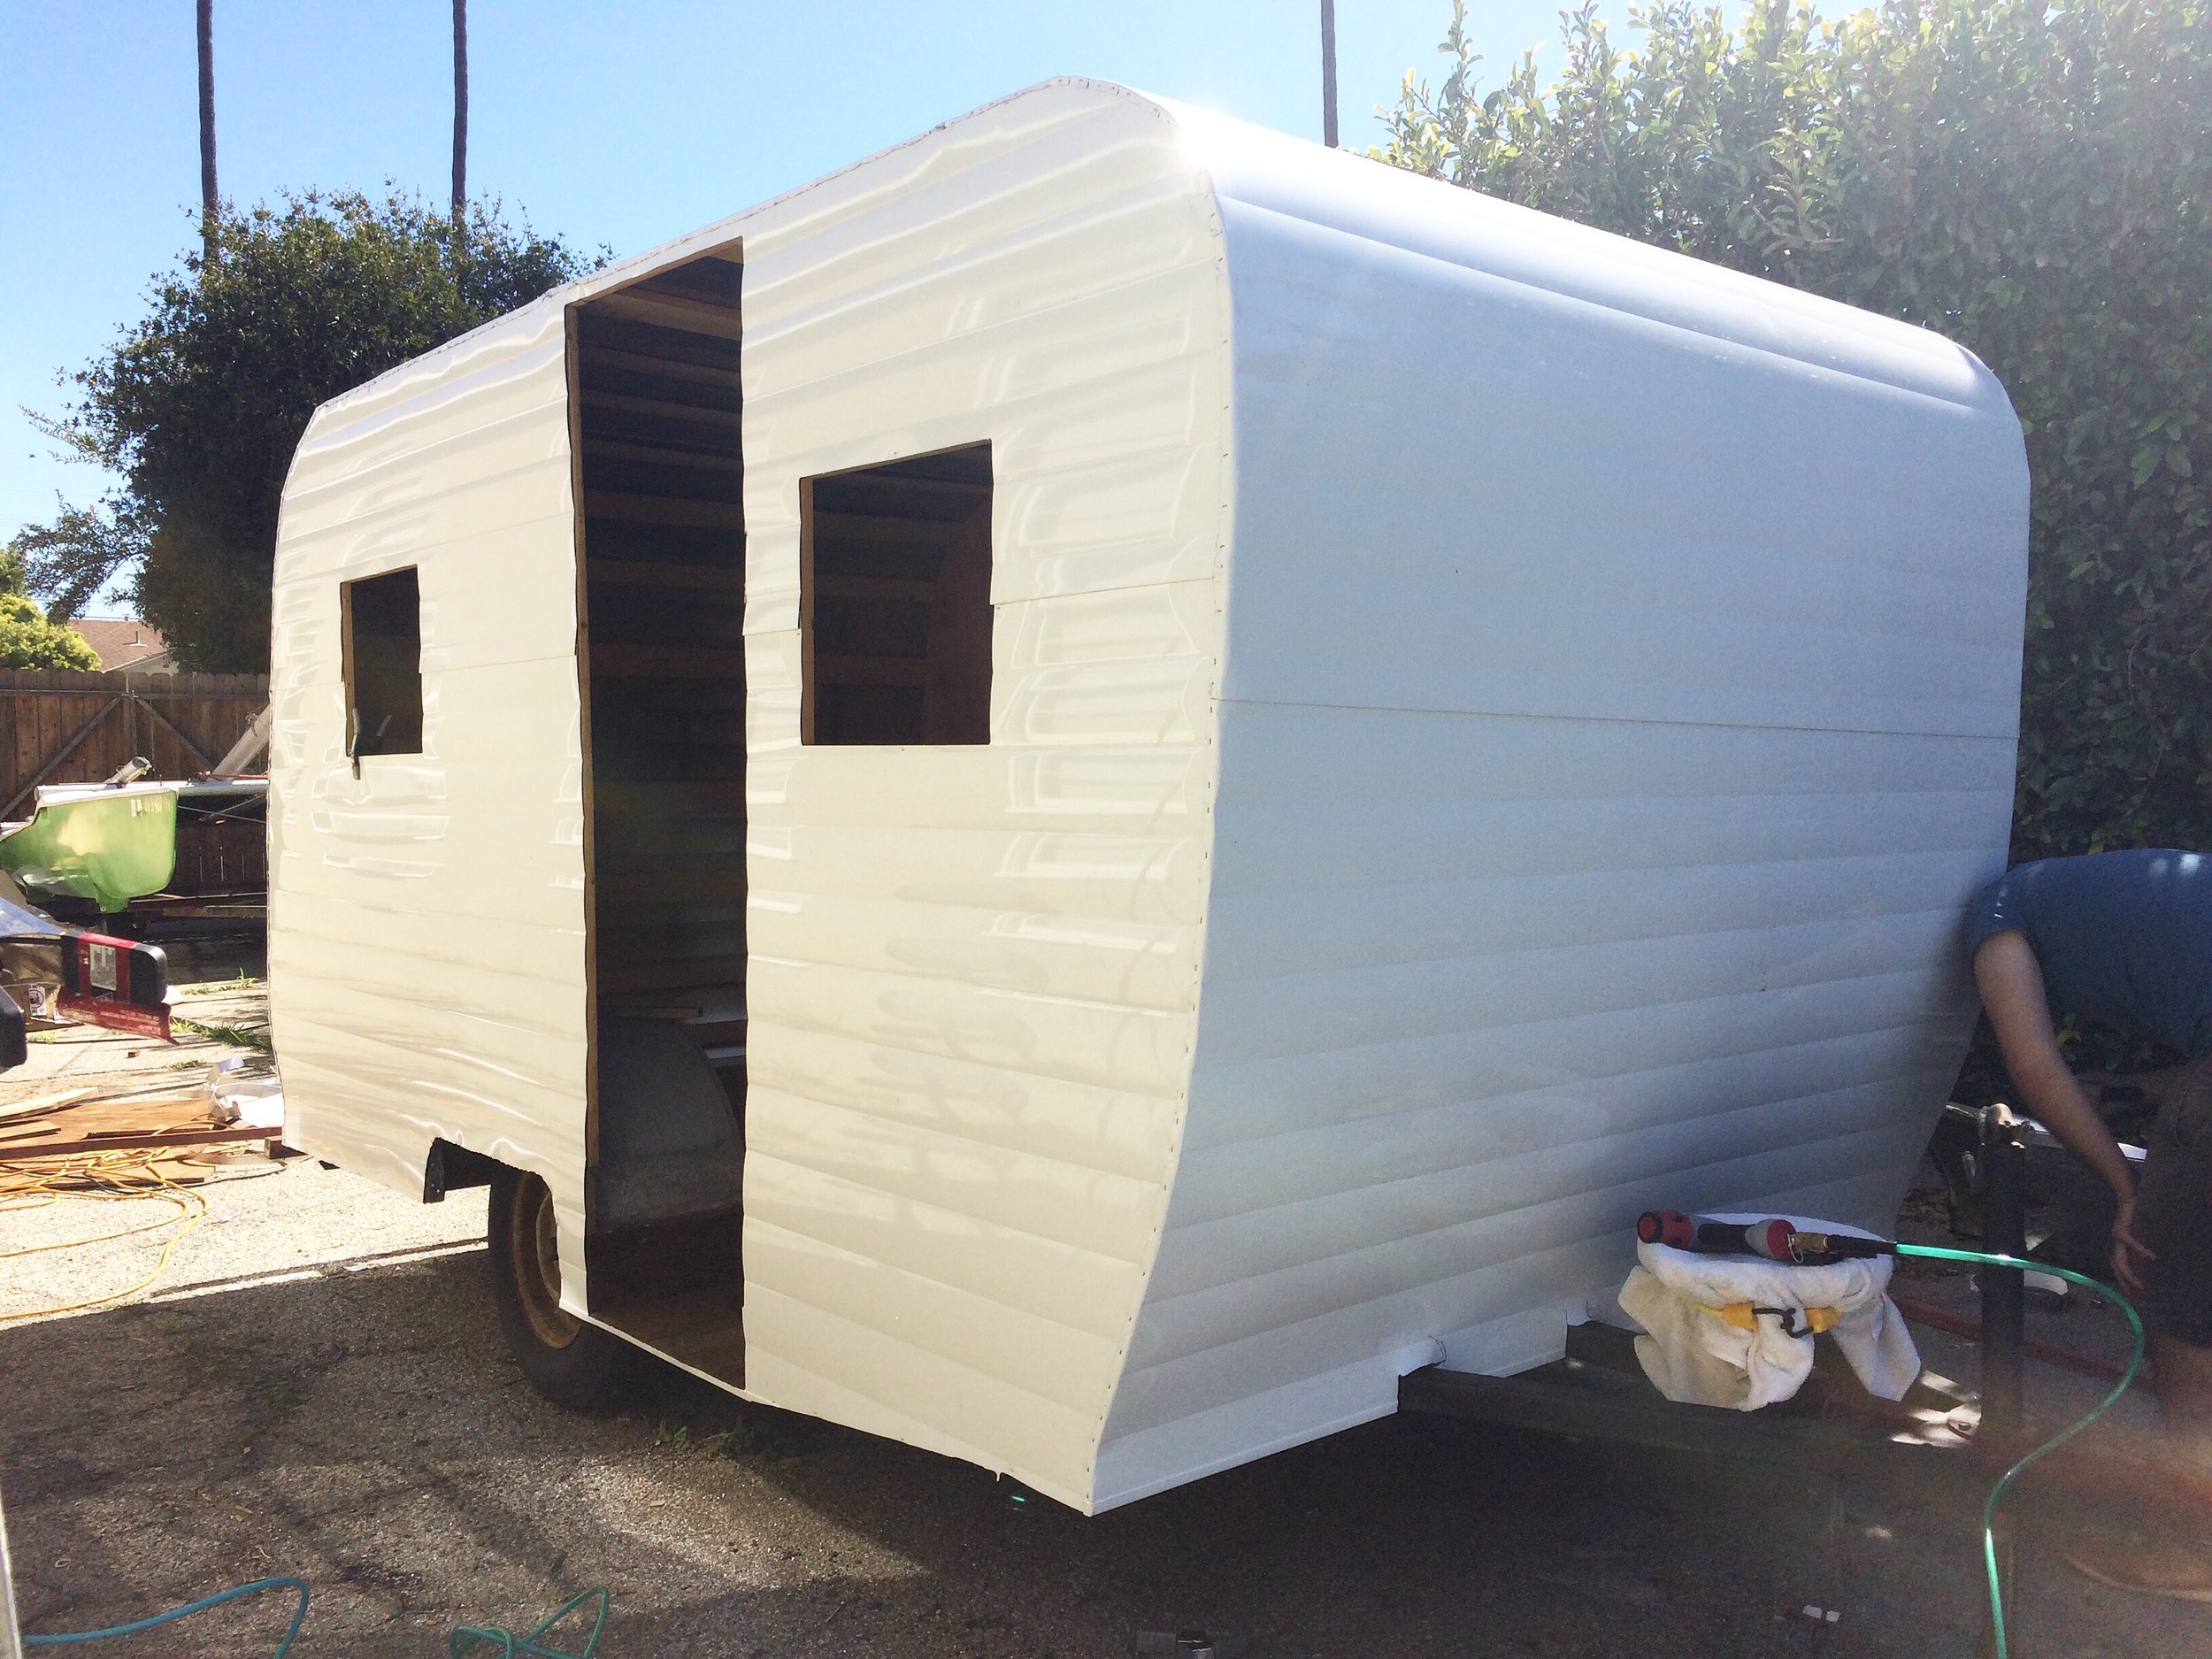
All of the siding on! We didn't route out the front or back window because there's more rain in the forecast and we figured we would wait until right before we install the windows to do that.
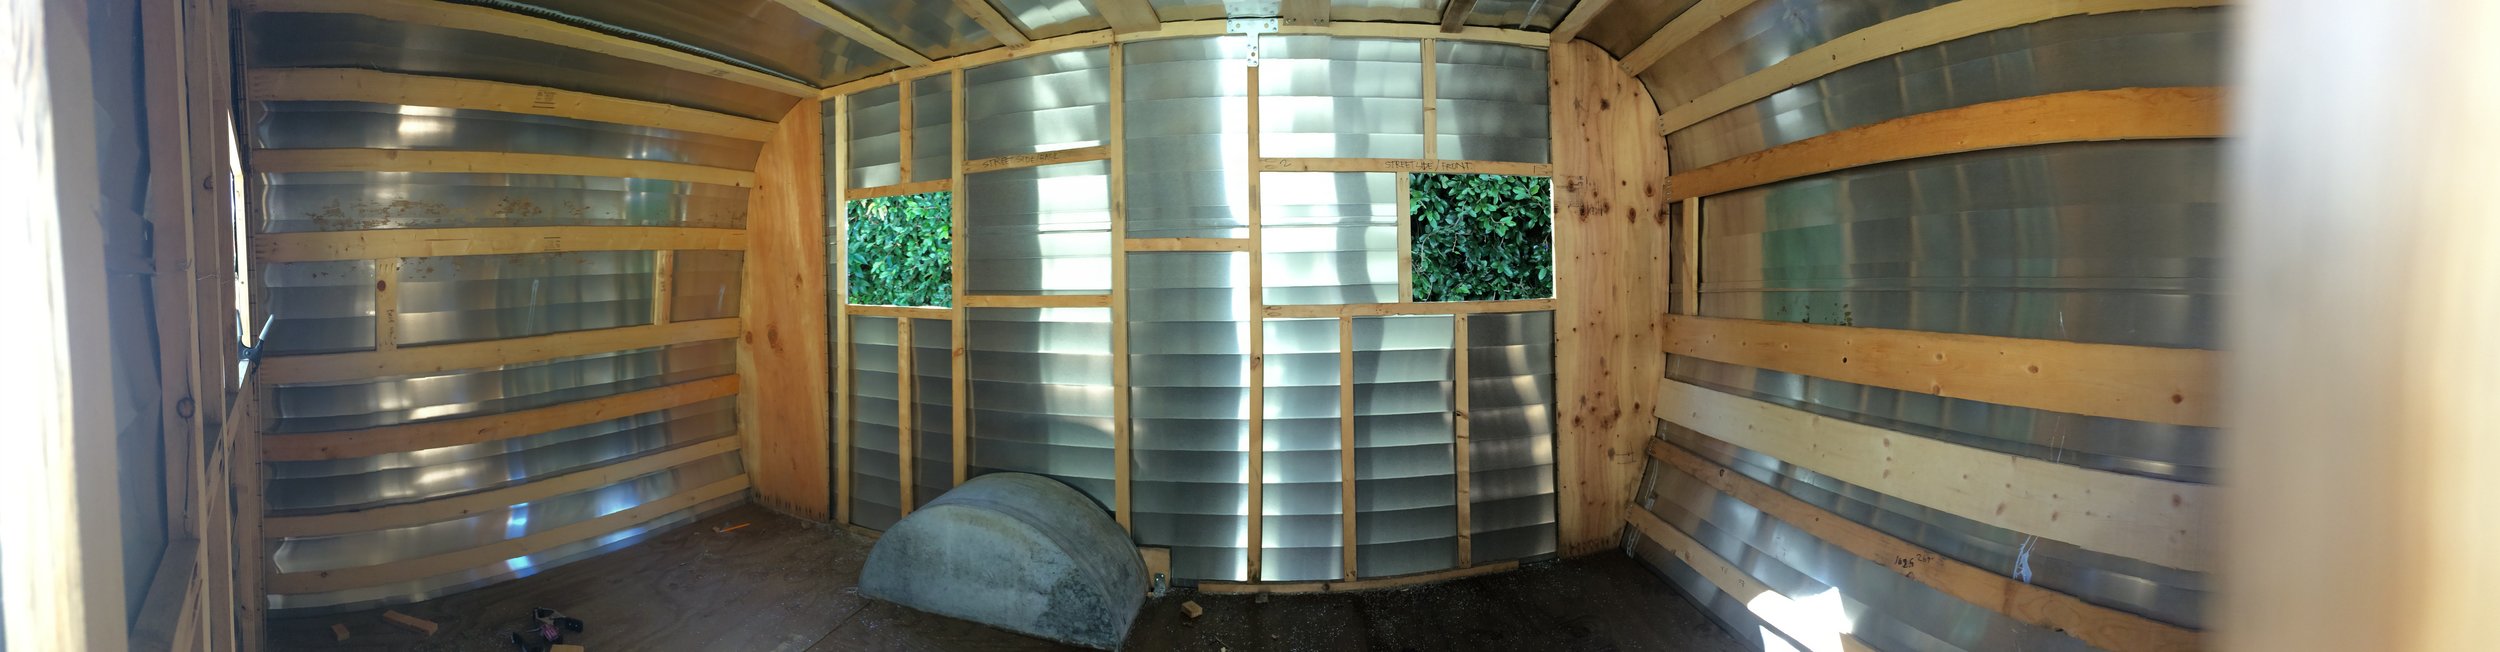
Interior shot. It's starting to look like a trailer again!
So that's how we installed the siding. I think it took us about five or six days in total. Oh, and that small, fixable mistake I mentioned at the top of this post? We forgot to attach the top piece of the door jamb when we built the frame and routed the door hole way too big. Our original trailer door doesn't fit anymore which is a bummer but the door was kind of a POS anyways. Because our door doesn't fit, neither does our old door jamb. In the next post, I'll talk about how we rebuilt our door jamb and door from scratch!
Sources for siding:
Mobiltec - Installing Siding Part I
Mobiltec - Installing Siding Part II